


Considering the fact that this is my first of many DIY related posts, I want to make one thing clear. I am not the “Perfect Shiny Southern Belle” type. While I do love all things DIY, home, and cooking related, I wasn’t born with that Martha Stewart gene. You know the type. The ones who make everything seem so effortless or can pull off anything Pintrest throws their way and on the FIRST try. I’m obviously obsessed those type of women, I was raised by that type of woman. But know that if DIY projects don’t come easy for you, rest now child. You have a friend in me.
I initially fell deep into the Pintrest rabbit hole in search of the perfect DIY Mother’s Day gift for my Mom. The first gift I found was just right for a daughter-to-mother gift. I knew I wanted to make her something on behalf of my 18-month-old son. So I decided to try on my fancy pants and undertake two DIY projects. It ain’t easy in “Perfect and Shiny Land” y’all… So here goes!
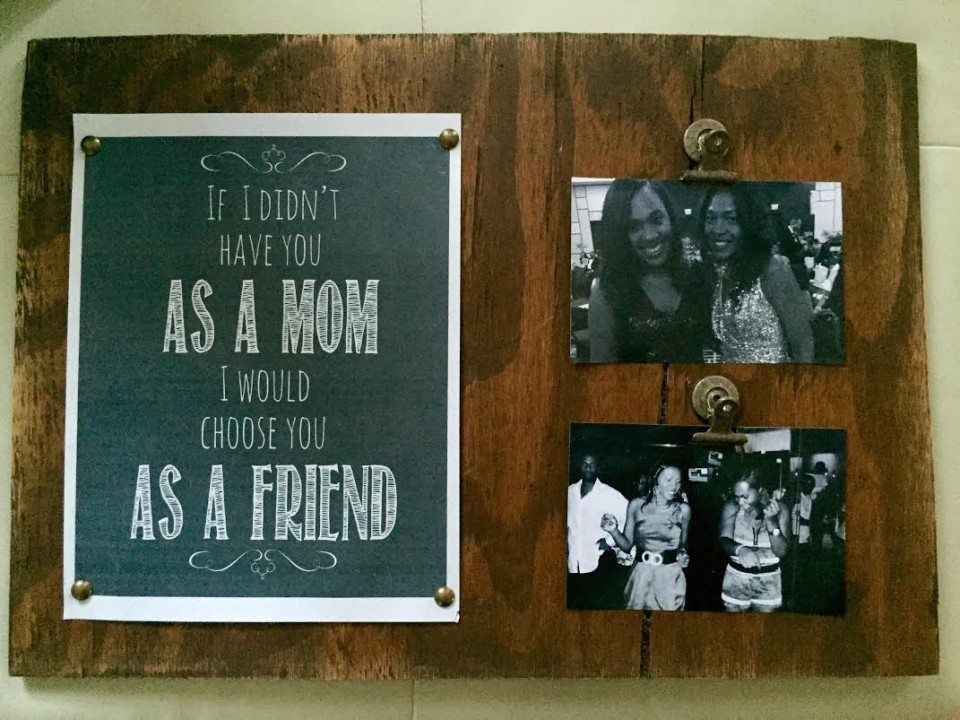
“Rustic Mother’s Day Plaque” via http://www.shanty-2-chic.com/
As soon as I saw this, I knew it was the right fit. My mother not only looks ridiculously young for her age, but she also has such a fresh and vibrant energy. Besides being the flyest person that I know (I’m not joking ladies), she has given me some of the wisest, brutally honest advice about life, love, money, and everything else. I have always had such a great element of friendship with my mother and I’m so happy I found this project to express my gratitude for that.
I love all things wooden and rustic. The original blogger had a lighter look to hers. I’m thinking she has much better sanding techniques than I (we’ll get more into that later). But hey, overall I’m happy with the finished product and Mom loved it, so Yayyy!

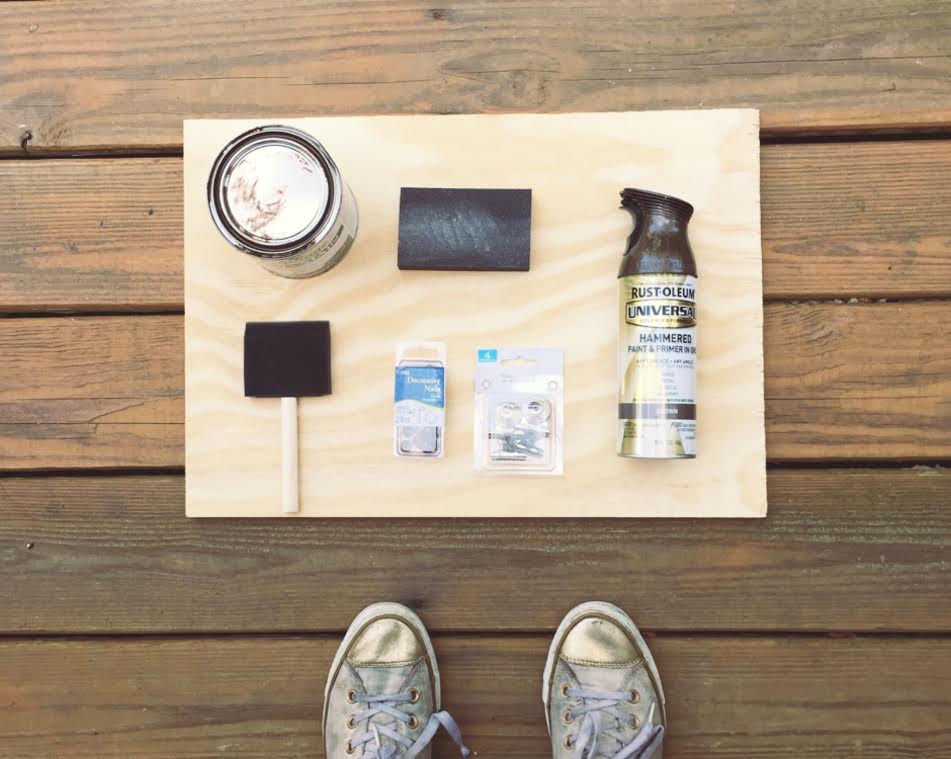
Here’s what you’ll need:
Pinewood
Wood Stain
Brush
Furniture nails (I used Decorative nails)
Clips
Spray Paint (For your clips)
Gorilla Super Glue
I pretty much followed the directions down to the store. So I went to Lowes to get my Pinewood and got a 2×12 piece. I honestly didn’t really know what exact measurements that would come in, but when I said it, the guys at Lowes understood. Then with some help from a family friend, I decided that 14 x 20 on my measuring tape was the best size and he sawed that bad boy down.
*Sidenote* I thought that maybe I could saw it by myself if it came to that, but no, there’s a lot that goes into that skill and umm. Just no. If you know what you’re doing with a saw then more power to you sister, but my advice is to figure out your measurements and ask the lovely folks at Lowes or Home Depot to help you.
Okay! So the next part is VERY important. When you put your stain on, apply only ONE coat and then WIPE it down with a towel. I had to go through 2 boards before running for help and finally someone told me to wipe it down (It takes a village). When you first put on the coat, it will look like this when it dries.
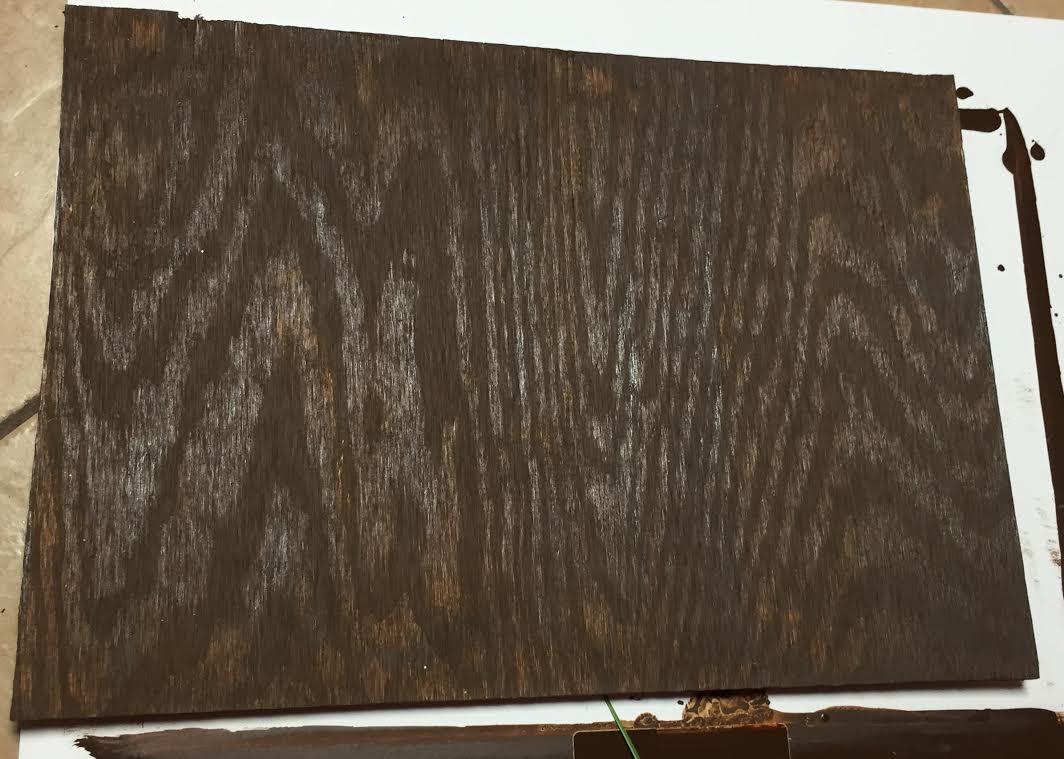
This dark isn’t a bad color if that’s what you’re going for. For me, I wanted a more rustic feel and after I wiped it down (one time) with a dry towel, I finally got the look I wanted.
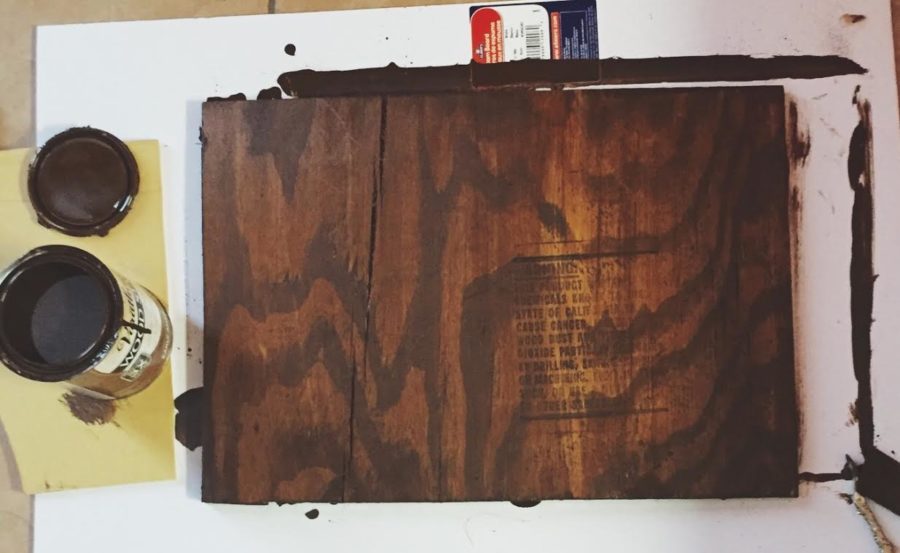
I let everything dry and settle for an hour then per the advice of the original blogger, I sanded the edges and corners for a rustic look. About one minute in, I realized that I didn’t actually know what I was doing, but I could see a bit of change. So I went with it until I was satisfied with the overall look.
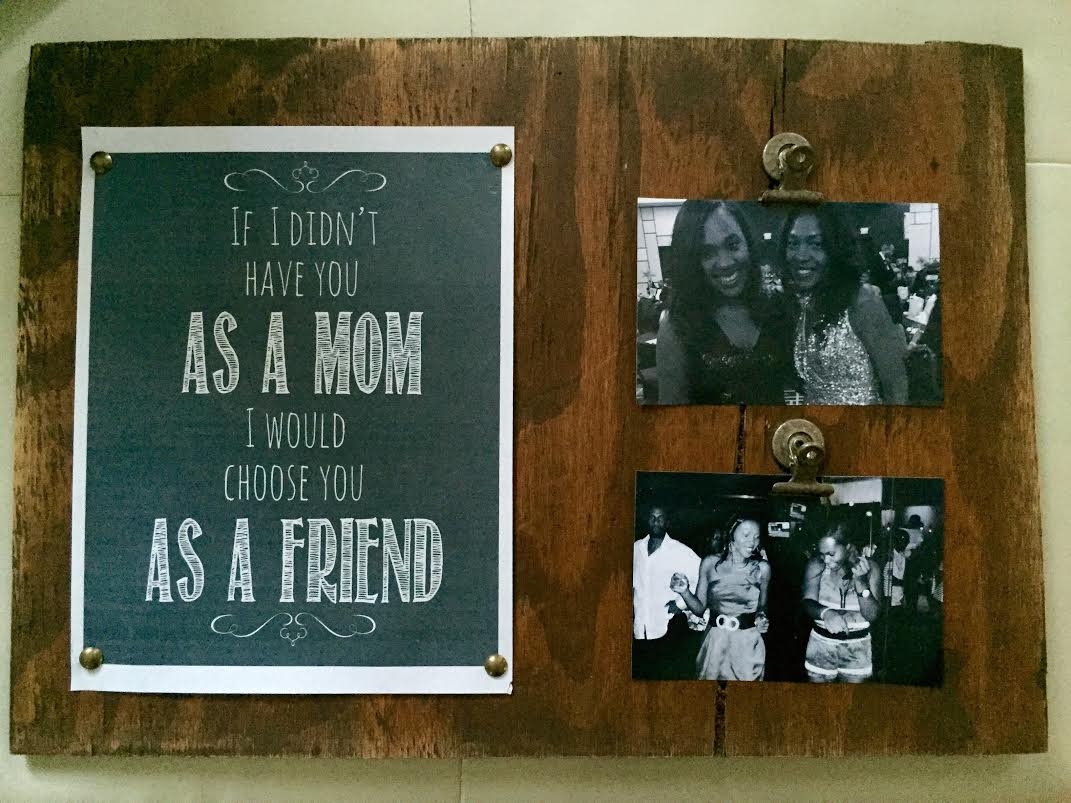
Next, I aligned the print and the pictures to my liking and nailed everything in place. The clips require the Gorilla glue and my advice is to just have extra clips and nails handy juuuust to be safe.
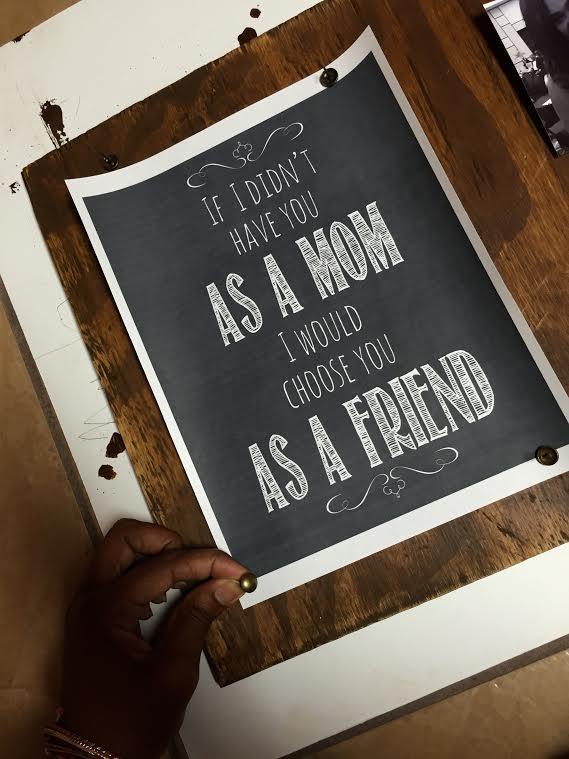
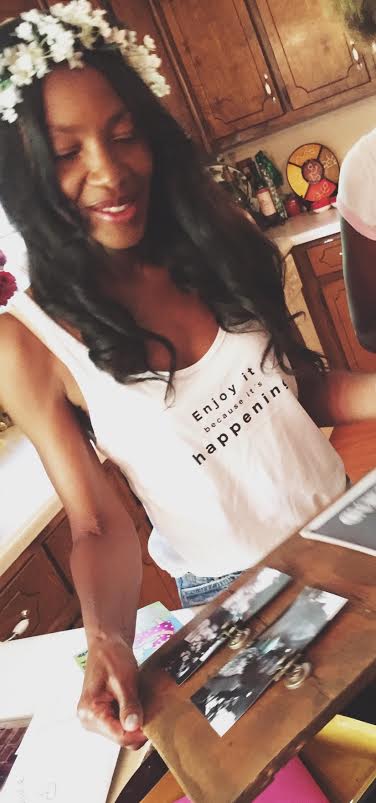
After you nail and glue the pics and print on, you’re done! Now the great thing about the site I used is that she has prints for your aunt, grandma, sister, and a few more so this can serve as a Birthday or “Just Because” gift. I hope I gave you enough detailed instructions and feel free to check out the original. Here’s another shot of the finished product and a shot of my beautiful Mom receiving her gift.
Stay Tuned for the next DIY gift!
XOXO
Paige


This was a perfect Mother’s Day gift. You are a great daughter for stepping outside your comfort zone to do this personalized gift from your mom. Don’t worry, you have the gift. Sometimes it comes later in life. I found that out too. My mom is a great artist and DIYer. I didn’t have the skills when I was younger. Now that I am older, I find myself creating lots of crafts. Keep going and you will be a great as your mom. You are off to a wonderful start.
Love the story and the project. Nicely done.
I love this! DIY doesn’t come naturally to me either, but sometimes I SO want to be good at it. Thanks for giving me hope!
Absolutely loved reading this post. It was so personable and fun. Nice job Paige 🙂