


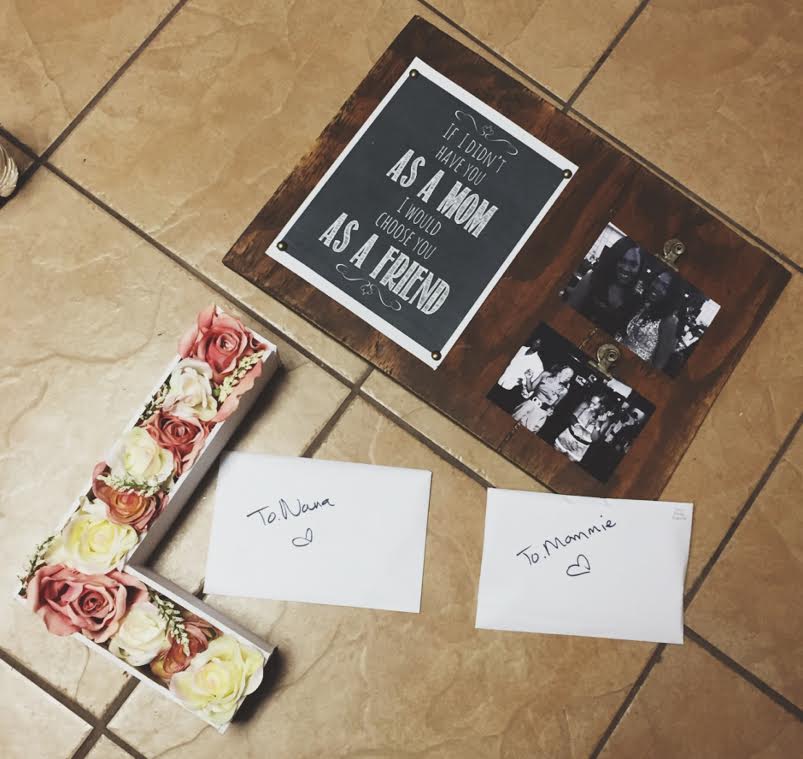
So let’s talk about this Blooming Monogram DIY. I chose this project because I know my history with stuff like this and I needed something simple, but pretty to make as my second gift. As luck would have it, I of course could not find the most important material to the Blooming Monogram and had to get creative! I’m glad it all worked out because while I think the first gift was much more sentimental, the second definitely fit my mother’s aesthetic.
The issue I ran into was not being able to find the paper mache “L.” If you are able to find a paper mache letter, then everything should run very smoothly for you.
Here’s what you’ll need:
Paper Mache Letter
Scissors
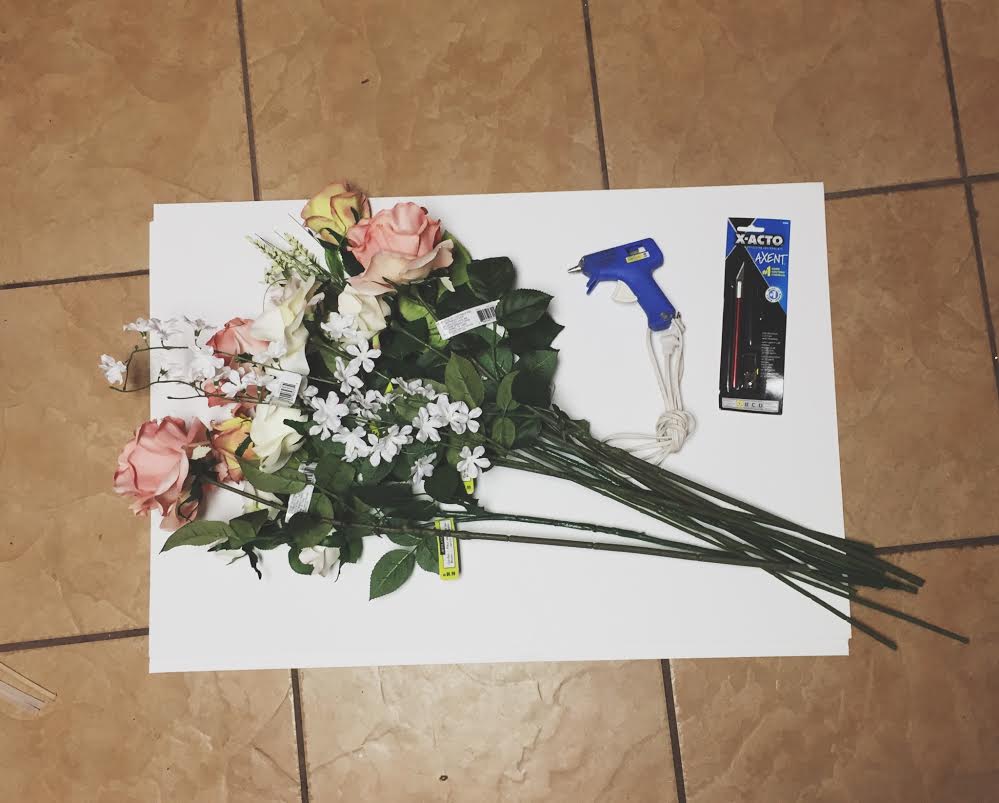
Flowers of your liking (I suggest using fake flowers from Michael’s. They have so many beautiful options)
Flower Fillers (Also fake from Michael’s)
Glue Gun/ Glue Sticks
X-Acto Knife
White Spray Paint
*If you cannot find the paper mache letter*
Here’s what you’ll need:
White foam board (2 sheets for good measure)
Ruler (To draw precise letter)
Scissors
Flowers of your liking (I suggest using fake flowers from Michael’s. They have so many beautiful options)
Flower Fillers (Also fake from Michael’s)
Glue Gun/ Glue Sticks
X-Acto Knife
White Spray Paint
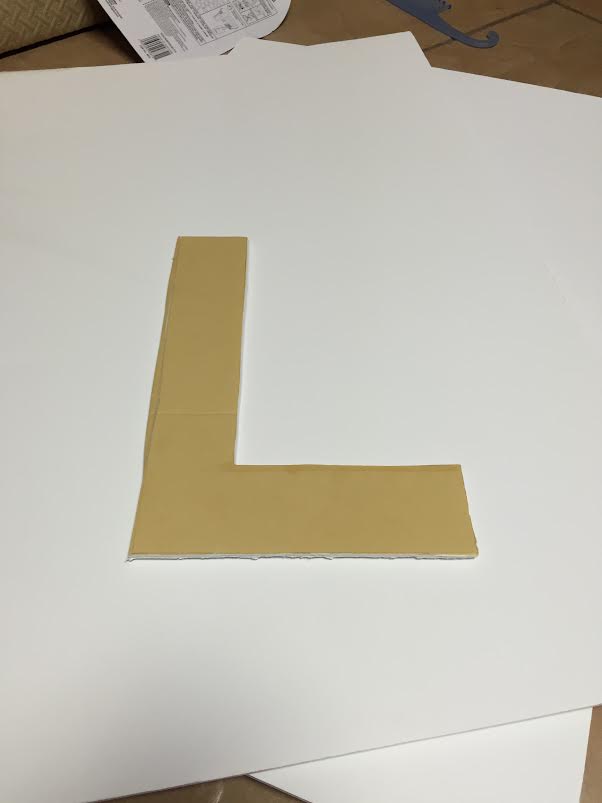
Since I was unable to find paper mache letters, I decided to make my own “L.” I started with the base drawing then built from there.

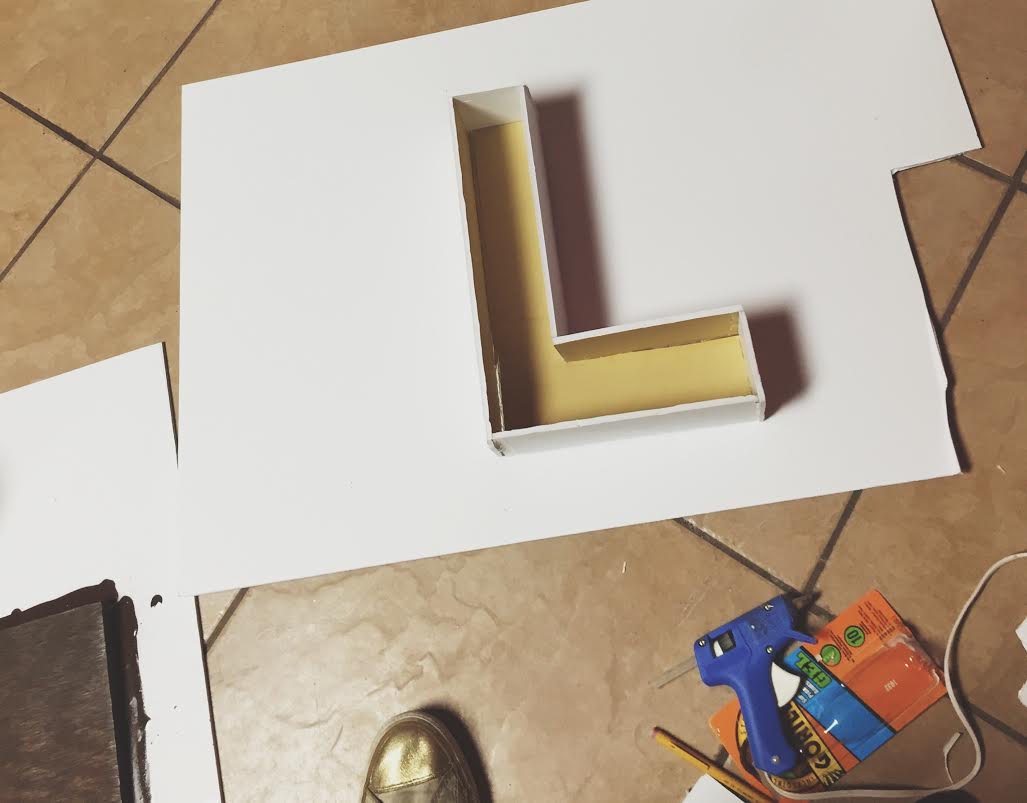
From this point, I cut and glued pieces to each side of the “L” to create a boxed letter. This part wasn’t difficult at all, it was more so time consuming. In my opinion, there’s no exact way you have to do this. Just take your time to ensure your letter is aligned and functioning.
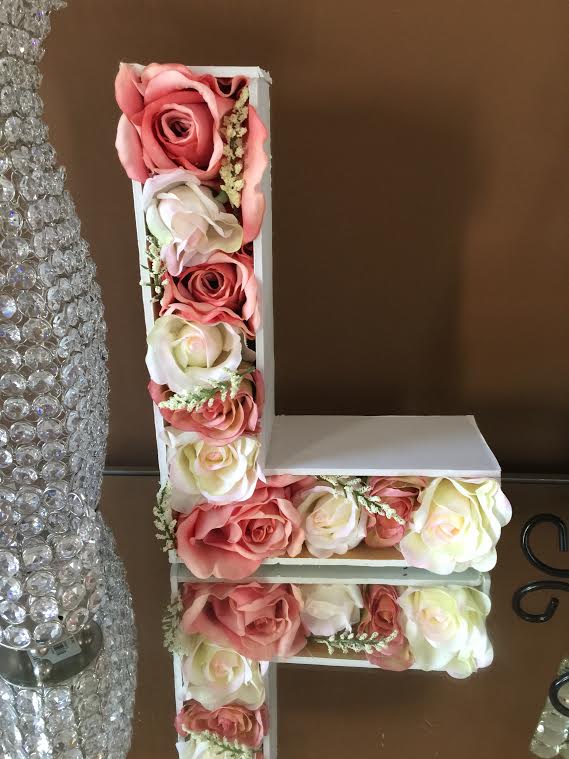
Next, I spray painted my “L” white and let it dry while I worked on the flowers. From here on out everything is easy peasy. Just cut the flowers and fillers down to the stem and work them into your letter.
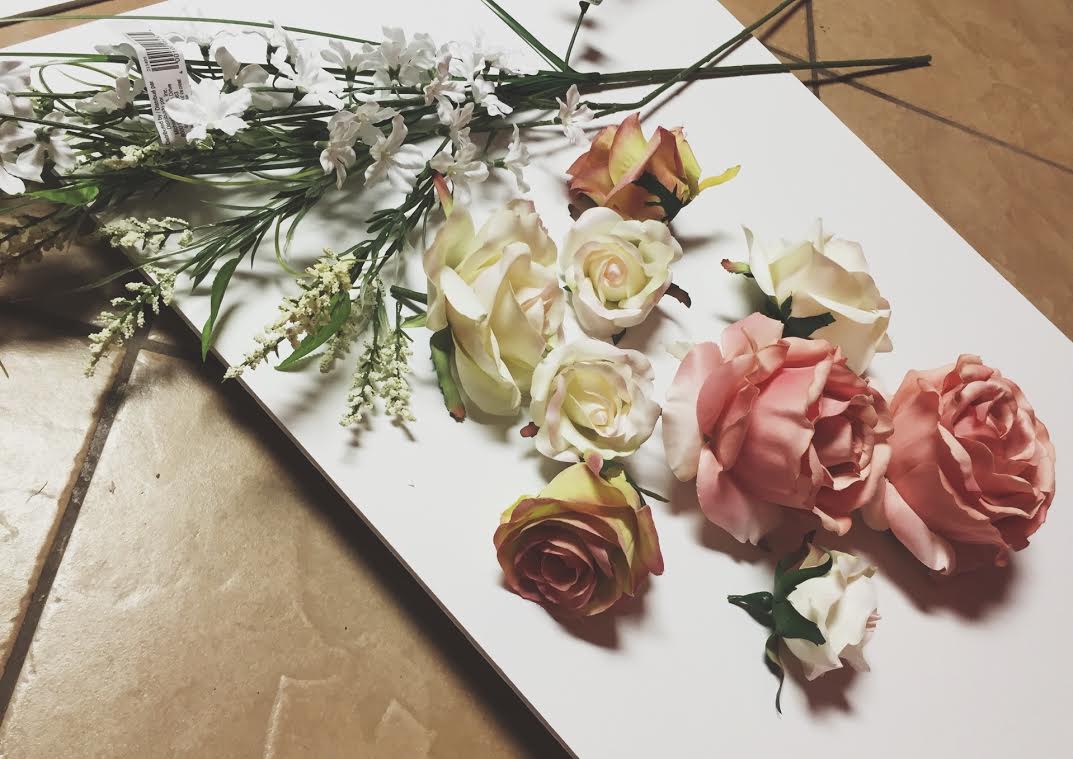
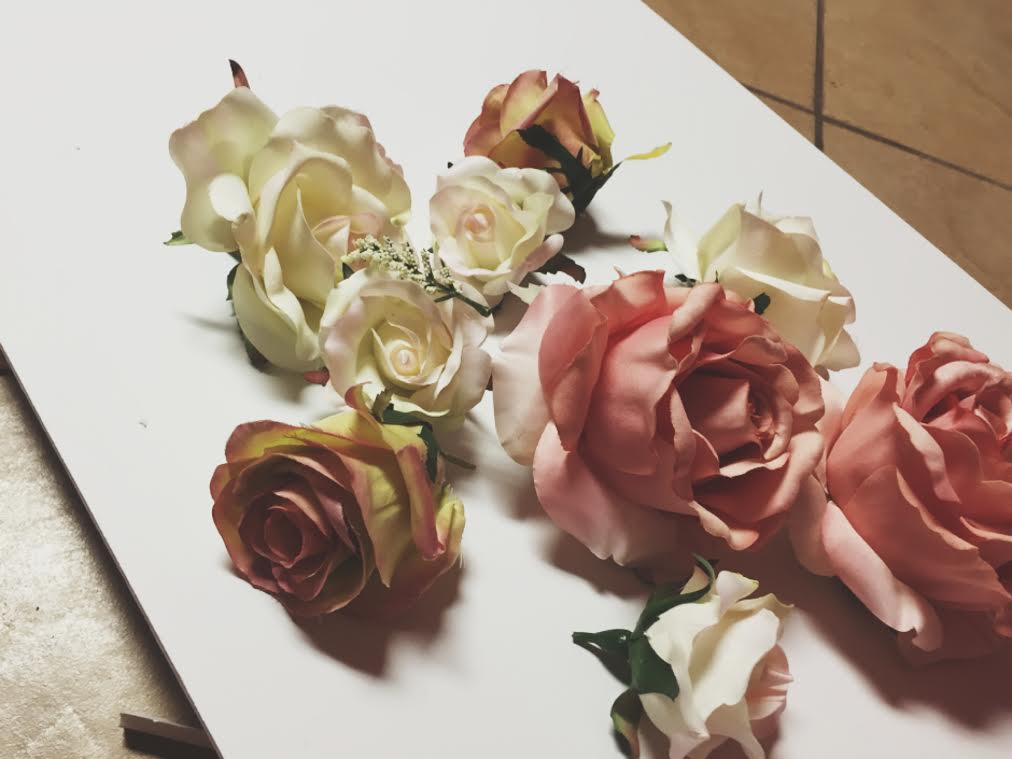
I chose to arrange my flowers in the L before glueing them in just to make sure I was happy with the color arrangement.
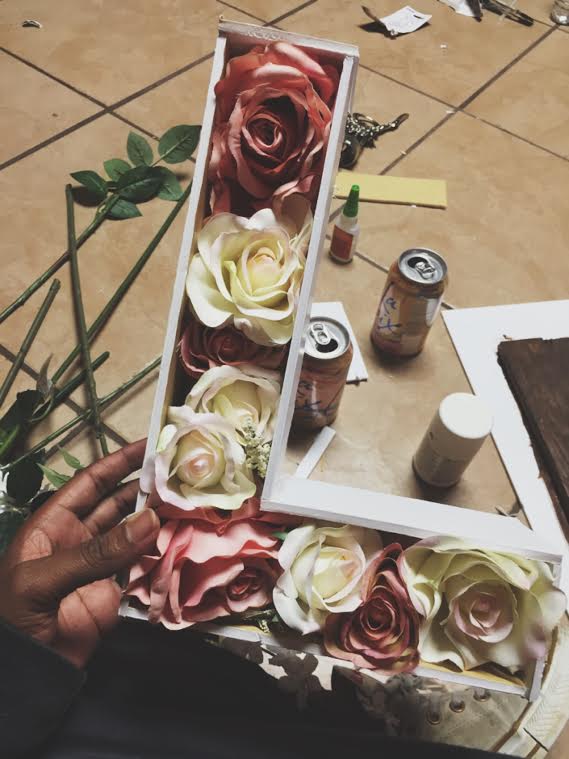
Next using your glue gun, glue your flowers in one by one. Give each flower a little tug to make sure it’s in there before moving to the next. Once you’re done with the flowers, if you like, add some flower fillers as you see fit and Violá!
Comments


I love this idea!